시작하기 전…
클래스에 커서를 올려서 확인해보면 nullsafety가 되어있는 필드들은 꼭 필요하지 않다는것 같음.
(근데 나머진 다 디폴트로 들어가있는데…? 아직 잘 모르겠음)
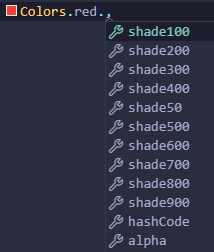
Color
Colors.색상 다음 .을 입력하면 색조를 고를 수 있음 (얼마나 어두워질것인지)
Color(0xFF색상코드)로 색상지정이 가능

색상.Opacity()로 투명도를 조정할 수 있다

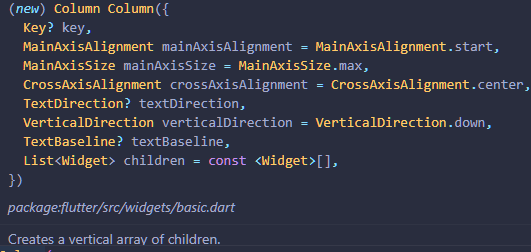
Column
자식으로 다른 위젯을 넣으려면 Column 클래스 이용
하나의 Column에 두개의 Text를 넣는 예제
home: Scaffold(
        backgroundColor: Colors.black,
        body: Column(
          children: [
            Row(
              children: [
              Column(
                  children: [
                    Text(
                      'Hey, Mindol',
                      style: TextStyle(
                        color: Colors.white,
                      ),
                    ),
                    Text(
                      'Welcom Back',
                      style: TextStyle(
                        color: Colors.white,
                        ),
                    ),
                  ],
                )
              ]
            )
          ],
        )
      ),
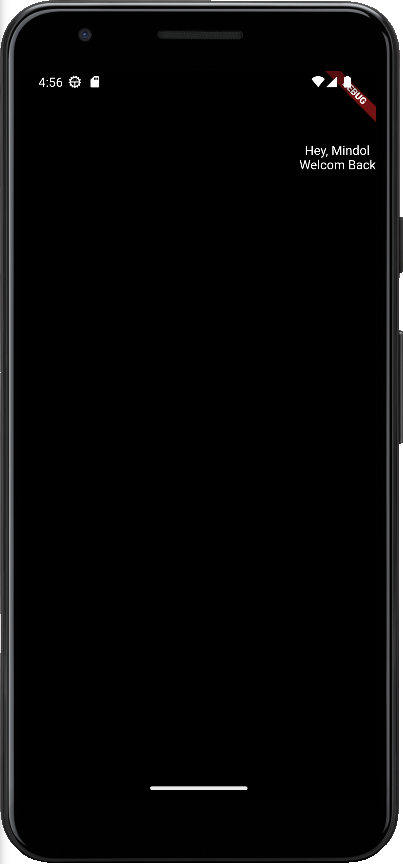
결과
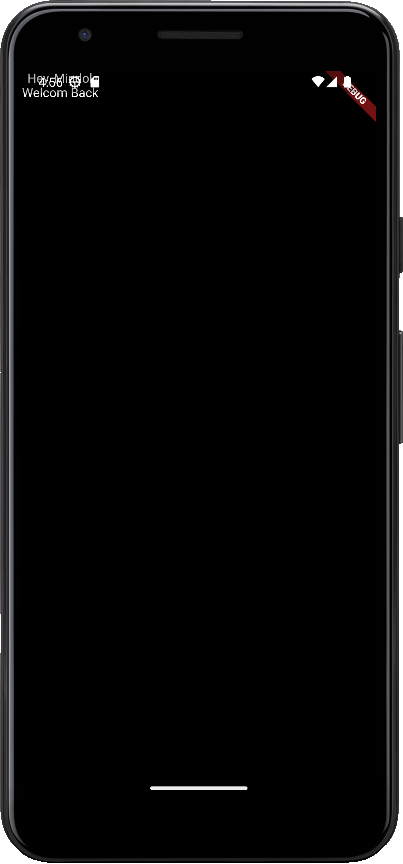
너무 위에 있어 아래로 좀 내려야 할듯함 그럴때 사용하는게 SizedBox
SizedBox
크기가 있는 박스, 공간을 만들때 사용
body: Column(
          children: [
            SizedBox(
              height: 80,
            ),
            Row(
              children: [
              Column(
                  children: [
                    Text(
                      'Hey, Mindol',
                      style: TextStyle(
                        color: Colors.white,
                      ),
                    ),
                    Text(
                      'Welcom Back',
                      style: TextStyle(
                        color: Colors.white,
                        ),
                    ),
                  ],
                )
              ]
            )
          ],
        )
Column안에 SizedBox의 높이를 80으로 지정해주고 두개의 Text를 넣어준 예제
결과
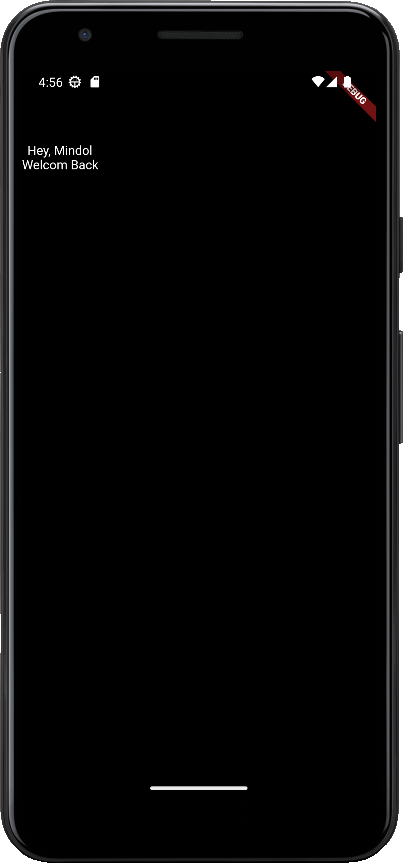
위에 SizedBox가 생긴 후 Text가 그려지는것을 볼 수 있다
이제 텍스트를 오른쪽으로 옮겨보자
Alignment(정렬)
Row의 MainAxisAlignment은 수평방향이지만
Column의 MainAxisAlignment은 수직방향
home: Scaffold(
        backgroundColor: Colors.black,
        body: Column(
          children: [
            SizedBox(
              height: 80,
            ),
            Row(
              mainAxisAlignment: MainAxisAlignment.end, // <- Row의 정렬 속성 변경
              children: [
              Column(
                  children: [
                    Text(
                      'Hey, Mindol',
                      style: TextStyle(
                        color: Colors.white,
                      ),
                    ),
                    Text(
                      'Welcom Back',
                      style: TextStyle(
                        color: Colors.white,
                        ),
                    ),
                  ],
                )
              ]
            )
          ],
        )
      ),
Row클래스의 mainAxisAlignment를 start에서 end로 변경해주었다
결과
이제 Text의 크기를 변경해줄 것이다
Text
첫번째 텍스트의 크기를 더 크고, 진하게 할 것이다
body: Column(
          children: [
            SizedBox(
              height: 80,
            ),
            Row(
              mainAxisAlignment: MainAxisAlignment.end,
              children: [
              Column(
                  children: [
                    Text(
                      'Hey, Mindol',
                      style: TextStyle(
                        color: Colors.white,
                        fontSize: 38,
                        fontWeight: FontWeight.w600,
                      ),
                    ),
                    Text(
                      'Welcom Back',
                      style: TextStyle(
                        color: Colors.white,
                        ),
                    ),
                  ],
                )
              ]
            )
          ],
        )
fontSize로 폰트의 크기를 정해고, fontWeight로 더 진하게 해줄 것이다
결과
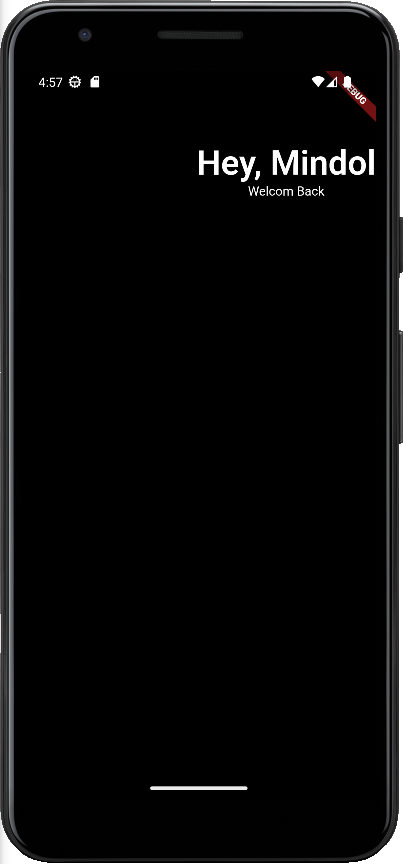
현재 텍스트는 가운데 정렬을 하고있지만 모든 텍스트를 오른쪽에 붙이고 싶다
하지만 Column의 MainAxis는 수직이고, CrossAxis는 수평이다(Row와 반대)
Column 클래스의 crossAxisAlignment값을 CrossAxisAlignment.end로 변경
결과
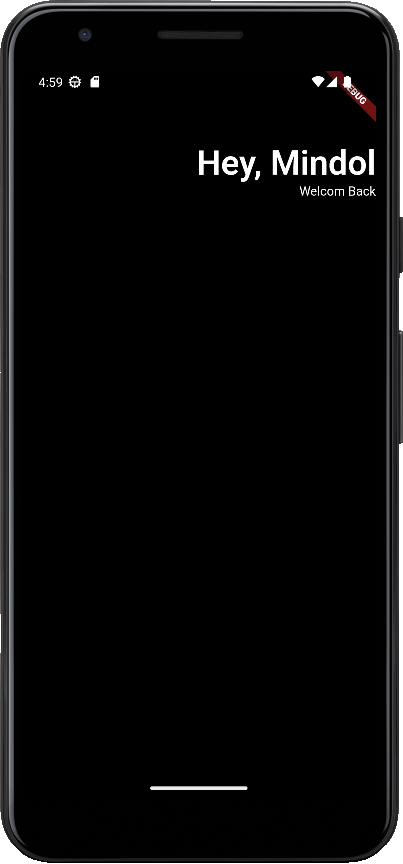
잘 정렬되는 것을 볼 수 있다.
하지만 너무 오른쪽에 붙어 있는것 같아 공백을 조금 주고 싶다
Padding
지금까지 만들었던 Column을 Padding으로 감싸서 전체적으로 공백을 주려한다.
padding을 사용할때는 padding을 명시해야하는데,
padding클래스에padding: EdgeInsets를 입력하면 알 수 있다.
- EdgeInsets.all(): 값만큼 화면의 상하좌우 모두 padding을 줌
- EdgeInsets.only(): 상하좌우 중 한 가지를 구체적으로 정할 수 있음
- EdgeInsets.symmetric(): 수직 padding과 수평 padding을 지정할 수 있음